REVIEW · DUBLIN
Dublin: Personal Photographer- Travel Photography Experience
Book on GetYourGuide →Operated by Transitan.ie · Bookable on GetYourGuide
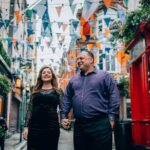
Dublin turns cameras on fast, if you know where to stand. This personal photographer experience strings together some of the city’s most shootable stops, with a guide giving photo tips and help with poses as you walk. I like that you’re not left to guess angles on your own, and you get help making faces look natural. One possible drawback: it’s not built for slow, wandering sightseeing if you’d rather explore totally solo without direction.
What makes this tour feel different is the rhythm. You hit major photo areas in about two hours, then you finish back near the meeting spot by O’Connell Bridge. I also like that the photos come back edited within days, so you’re not just stuck with phone snapshots. Consider that it is a camera-focused activity—if you hate being in photos at all, you might want a different type of walking tour.
In This Review
- Key things to know before you go
- O’Connell Bridge Meetup: where your Dublin photo walk starts
- Private Group, Two Hours: why this format works
- Temple Bar District: making the camera feel natural on busy streets
- Grafton Street: trading random selfies for real street-style shots
- St. Stephen’s Green: a calmer pocket for portraits and softer light
- Ha’penny Bridge and Molly Malone Statue: the route’s built-in photo anchors
- Trinity College Dublin: postcard structure, portrait-ready backdrops
- How the photo guidance actually changes your results
- Edited photos within days: what delivery looks like
- Price and value: $180 per group up to 8
- Who this Dublin photography tour suits best
- Practical tips to get the best photos on the day
- Should you book this Dublin Personal Photographer experience?
Key things to know before you go
- Professional guidance for posing so you don’t freeze when the camera comes out
- An efficient route through Dublin’s most photographed corners, timed for a relaxed pace
- Professionally edited digital gallery ready for posting within days
- A private group (up to 8) so you can move and shoot together
- English-speaking live guide keeping the experience easy to follow
- Finishes near the meetup at O’Connell Bridge for an uncomplicated end point
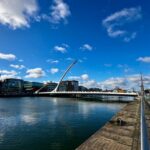
O’Connell Bridge Meetup: where your Dublin photo walk starts

The whole experience begins at O’Connell Bridge. That matters more than you might think, because it’s a central hub where you can get quick skyline views and clear streets leading into other photo areas. When a tour starts at a landmark like this, you spend less time hunting and more time shooting.
You’ll meet a photographer who’s holding a sign for the tour name—so you should be able to spot the team without a long scavenger hunt. The tour is designed as a walk-and-photo flow, not a bunch of long transit breaks.
If you want the best chance at photos that don’t look like you were stuck behind strangers, arrive a few minutes early. Even a private group can’t control how crowded photo hotspots get, so the earlier you settle in, the easier it is to get clean compositions.
You can also read our reviews of more photography tours in Dublin

Private Group, Two Hours: why this format works

This is priced as $180 per group up to 8, and it’s built around a roughly 2-hour window. For me, the sweet spot here is that you get direction without losing half your day to planning. Two hours is long enough to hit several iconic stops, but short enough that you don’t feel like your trip is turning into a job.
Because it’s a private group, you’re not competing for attention with a dozen strangers. That often makes a big difference in how naturally you end up posing. One review highlighted how welcoming the guide felt, and it even mentioned a guide named Lyvia as friendly and welcoming—so the human side clearly matters here.
Also, the tour includes photo tips while you go. That’s key if you want more than just the same selfie angle in every location. You’ll get suggestions for creative poses and ways to position yourself with Dublin’s backdrops.
If you’re traveling with multiple people, this setup can be a strong value. Splitting the cost across a group can be cheaper than hiring a private photographer just for one location—especially when the package includes a guided route and edited results.
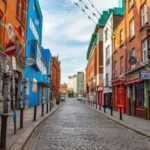
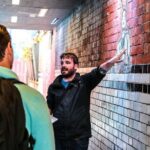
Temple Bar District: making the camera feel natural on busy streets

Your first major stop is the Temple Bar District, with a 25-minute photo stop and guided time. Temple Bar can be lively and crowded, so it’s a good place to use a photographer’s timing and direction rather than trying to solve it yourself.
Here’s the practical advantage: someone who’s done this before knows how to turn a busy street into a photo that still looks intentional. You’re likely to get guidance on where to stand, how to face the light, and how to use the street scene behind you without letting it swallow you.
A potential snag: Temple Bar is popular, so you may not always get a perfectly empty background. The photographer can’t rewrite Dublin traffic and footfall, but the goal is to help you get shots that look like you planned them—rather than just caught them.
If you’re the kind of person who worries about looking awkward in photos, this stop is where you’ll benefit most from the guidance. You’re guided through posing and kept moving, so you don’t get stuck in one spot too long.
Grafton Street: trading random selfies for real street-style shots

Next up is Grafton Street, again with about 25 minutes of photo time and guided exploration. Grafton Street is perfect for walk-up street style images—wide pedestrian areas, shopfronts, and strong city energy. But like Temple Bar, it can be busy, so you want a plan.
This is where the photographer tips tend to pay off. Instead of everyone trying to frame the same landmark, you can work on:
- how to angle your body so you look relaxed, not stiff
- where to look (not just at the camera) to keep photos feeling alive
- how to layer people and city elements without making everything look cluttered
Even if you’re not aiming for fashion-editorial results, these are the moves that turn your Dublin photos from ordinary into share-worthy.
If your group includes different comfort levels—say one person loves photos and another hates them—this is still manageable. The private format means the photographer can give you direction in a way that fits your pace.
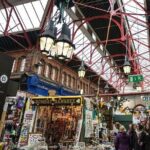
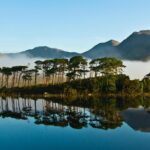
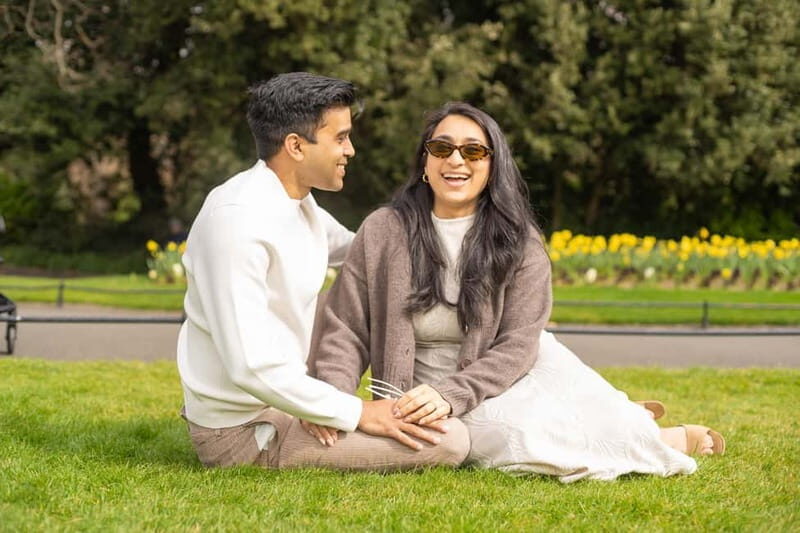
St. Stephen’s Green: a calmer pocket for portraits and softer light
Then you shift to St. Stephen’s Green (about 25 minutes for a visit and photo stop). This stop is valuable because it offers a change of scenery. After street scenes like Temple Bar and Grafton Street, you need a break where your photos can show Dublin’s calmer side.
In practical terms, green spaces help with backgrounds. You often get more forgiving photo lighting, and the scenery is easier to separate from you in the frame. That means your portrait shots are more likely to look intentional, even if the group decides last-minute to swap spots or adjust poses.
This stop also works well for group photos. Parks give you room to spread out a bit, which reduces the classic problem of crowded frames. If you want photos that feel like a story—not just a list of locations—this is where you start getting that narrative.
A small consideration: if weather is poor, outdoor stops can feel less comfortable. The tour is designed as walking and photos, so you’ll want to dress for Irish conditions and accept that you’ll shoot wherever you can.


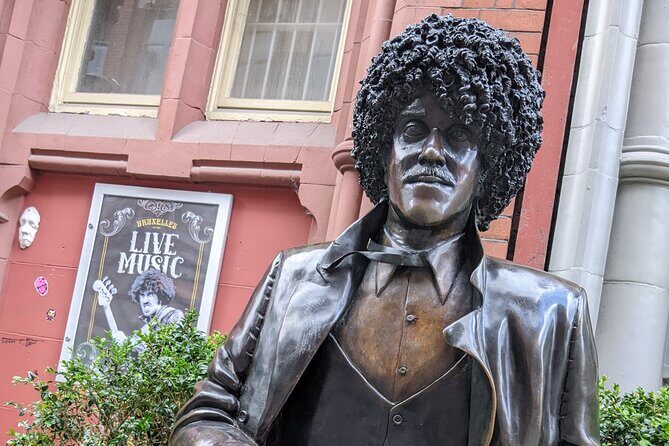
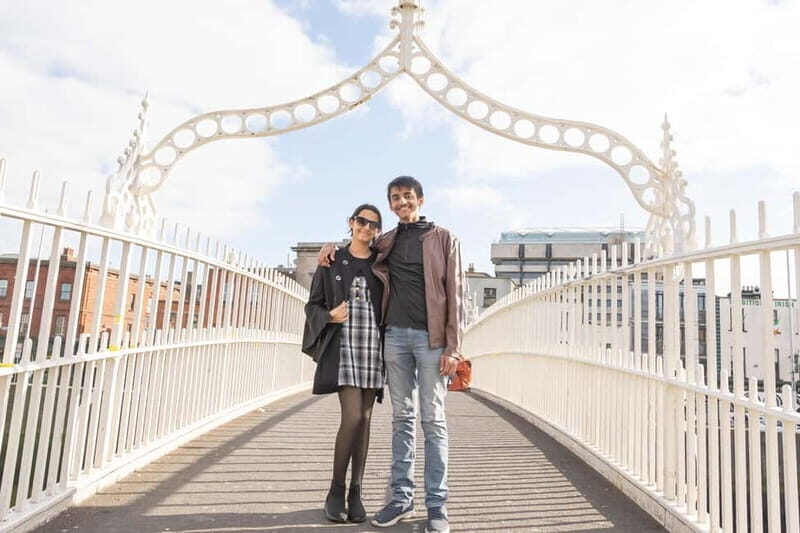
Ha’penny Bridge and Molly Malone Statue: the route’s built-in photo anchors

Your experience is advertised with an Instagram-focused itinerary that includes Ha’penny Bridge and the Molly Malone Statue in addition to the major stops. Even though the detailed timing may focus on certain stops, these are the kinds of landmarks that help your photo set feel complete.
Why these matter for your photo results: they’re instantly recognizable Dublin symbols. That means your gallery isn’t just scenic—it reads like Dublin, not just some European city.
These anchors are also helpful when you’re planning your own photos after the tour. Once you’ve seen the photographer work those spots, you’ll often understand where to stand for a better angle later—without needing to guess.
Trinity College Dublin: postcard structure, portrait-ready backdrops
The next big stop is Trinity College Dublin with about 25 minutes for a photo stop, visit, and guided time. Trinity adds classic Dublin architecture and a sense of place that’s hard to replicate with random street photos.
This is one of those locations where composition matters. Tall buildings and landmark facades can overwhelm a person in a frame if you don’t get positioning right. A photographer’s job here is to keep you in scale with the architecture—so you look like you belong there, not pasted into the background.
Trinity is also a strong choice if you want photos that work across different styles:
- formal portraits with a landmark feel
- candid shots that still show the environment
- group photos that look coordinated rather than accidental
If you love the idea of sharing a clean, cohesive set on social media, this kind of “big setting” stop is exactly where it starts to come together.
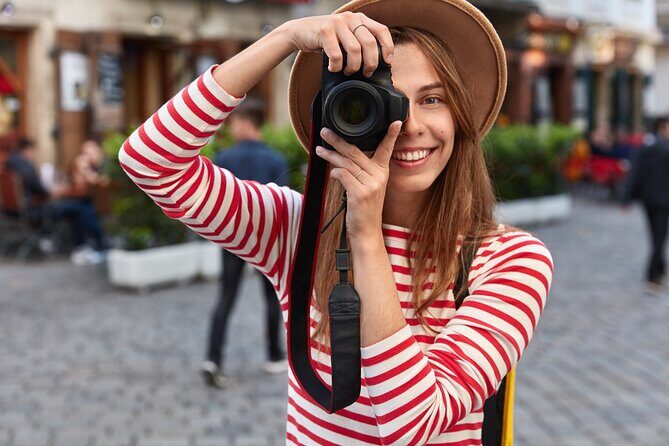
How the photo guidance actually changes your results
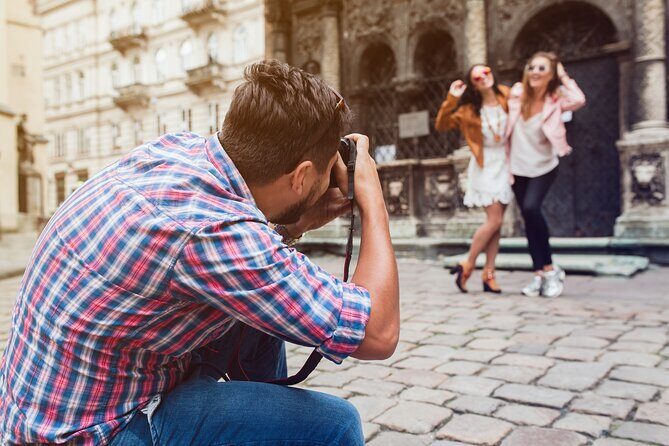
The tour isn’t just sightseeing with a camera. You’ll get expert tips, pose suggestions, and help so you feel comfortable in front of the lens. That comfort piece is huge—most people don’t need a better phone, they need guidance so they stop thinking about their face and start paying attention to the scene.
In your photos, you can expect:
- more natural posture (less leaning, less squinting, more relaxed hands)
- direction on where to look and how to frame your body
- tips for using Dublin landmarks as part of the photo, not just a backdrop
The best part is that you’re not doing this once. You get guidance across multiple stops, so your photos improve as the walk continues. By the time you reach later locations like St. Stephen’s Green and Trinity, you’re usually more confident—and it shows.
One review also praised the fact that the guide shared Dublin context along the way. That’s a bonus if you want your photos to feel connected to the city, not just to Instagram trends.
Edited photos within days: what delivery looks like
Here’s what you can count on: you receive a digital gallery of professionally edited photos within days. That’s the key difference between a selfie walk and a real photo experience.
You’ll be able to share the results on social media quickly, and edited photos tend to look more consistent—color, contrast, and sharpness all feel more unified. Consistency matters when you want a gallery that looks like it belongs together.
One note from a review: photos were expected to be released in 48 hours. The official wording is within days, so don’t lock into a specific timeline—but it’s encouraging to know that fast turnaround is possible.
So what should you do to get the best final images? Wear something you feel good in. Bring confidence, not a complicated outfit plan. A photographer can guide poses, but they can’t fix discomfort. If you look relaxed in the moment, the edits have an easier job making you look great.
Price and value: $180 per group up to 8
Let’s talk money plainly. At $180 per group up to 8, this isn’t priced like an individual private session where you pay for one person only. It’s more like a shared guided photography package with professional results built in.
You’re paying for three things:
- a professional photographer to direct you
- a planned route through well-known photo zones
- professionally edited digital photos afterward
If you’re a solo traveler, $180 might feel like a splurge—but it can still be good value when you compare it to hiring a photographer for one location plus editing time. If you’re a couple or small group, it becomes easier to justify because the cost spreads.
Also, the time is well used. Two hours in Dublin with a structured route means you’re not spending the day doing trial-and-error photo sessions. You get a set of edited images without needing to master camera angles mid-trip.
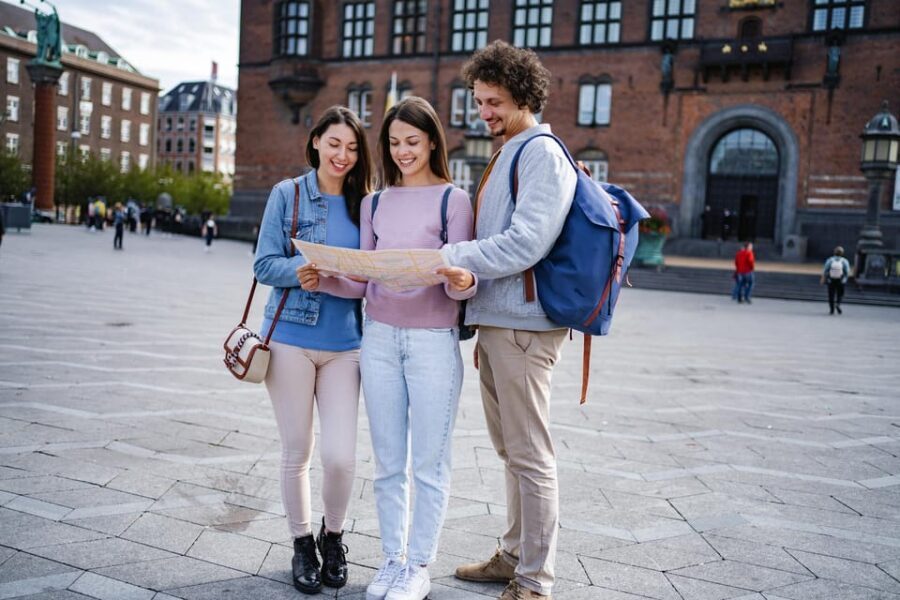
Who this Dublin photography tour suits best
This experience fits best if you want your Dublin photos to look planned without turning your day into a shoot schedule.
You’ll probably love it if:
- you travel as a couple, family, or small group
- you want more than selfies and you’d like posing help
- you care about posting on social media but hate the awkwardness of getting good shots
- you prefer a guided, relaxed pace through iconic areas
It may be less ideal if:
- you don’t want to be directed at all
- you’re uncomfortable being photographed
- you need wheelchair accessibility (the experience is stated as not suitable for wheelchair users)
Because it ends back near O’Connell Bridge, it’s also a decent choice if you want your day to stay flexible afterward. You don’t end far out of the center.
Practical tips to get the best photos on the day
Since you’re walking between multiple iconic spots, the small stuff matters.
Wear shoes you can handle on uneven sidewalks and lots of foot traffic. Dublin days can shift quickly, so bring a layer. If it’s raining, your photo plans can still work, but you’ll want to be comfortable enough to focus on posing rather than coping.
Also, come with an open attitude. The photographer will suggest poses, and you’ll get better results if you try them instead of forcing your usual stance. Think of it as someone teaching you where to put your body so you don’t have to guess.
Finally, keep your expectations realistic. This is about high-quality edited photos, not perfect backgrounds every second of the day. With the right direction, you’ll still end up with images that feel like Dublin.
Should you book this Dublin Personal Photographer experience?
Book it if you want a shortcut to great Dublin photos: a guided route through iconic spots, professional posing help, and edited results within days. The $180 price makes the most sense for couples and groups up to 8, and the two-hour timing keeps it from swallowing your whole schedule.
Skip it if you want total freedom with no direction, or if being photographed is a dealbreaker. And if mobility is an issue, note it’s not suitable for wheelchair users.
If you’re on the fence, the decision is simple: if you want your Dublin memories to look like more than postcards taken by accident, this is a solid way to get there.